Portals have become an indispensable part of the business. They allow employees, members, and customers to achieve their tasks and interact with the business. They also help everyone to be self-sufficient and stay up-to-date with the latest news and updates. And that, too, without external support.
But do you know there are different companies and types of portals to choose from? For instance, you can select a Dynamics 365 Portal or a Salesforce Customer Portal.
Next, depending on the audience, you can choose a particular type. For example, you can select a Dynamics 365 customer portal for customers. You can then decide the services you want to provide. Some of those include support for issues, search knowledgeable databases, collaborate with teams and communities, or learn more about products and services.
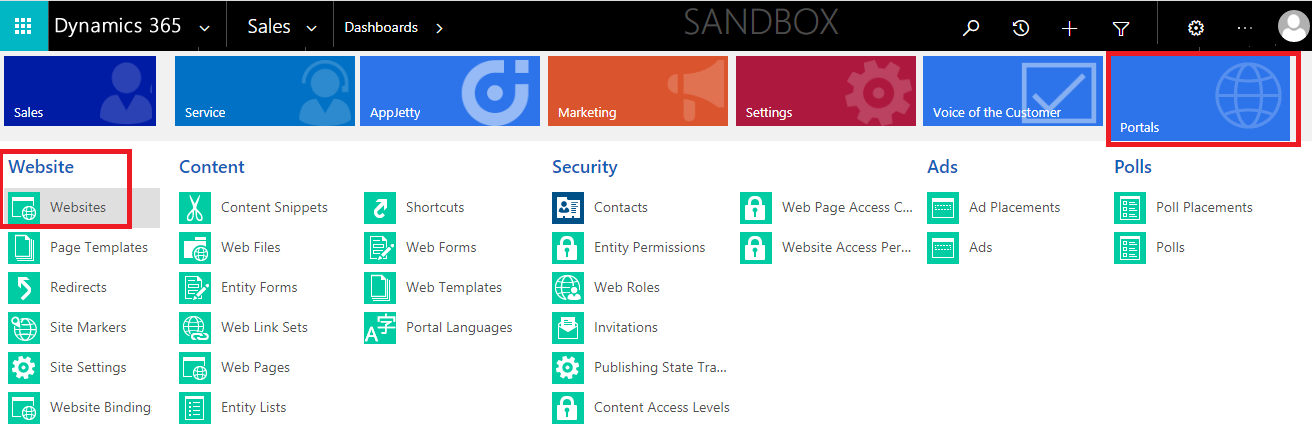
If we talk about Dynamics 365, it has five main types of portals. You can choose one based on your use case.
Here’s a breakdown of the different types of the Dynamics 365 portal.
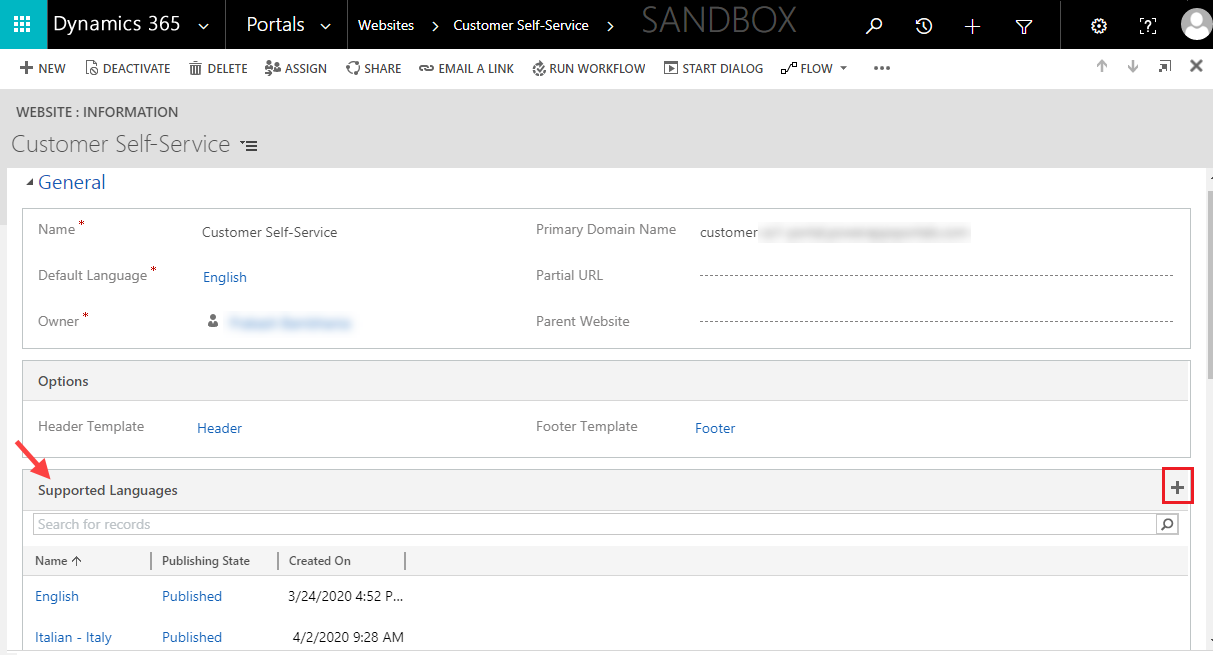
- Customer Self-Service Portal
It’s also known as a Dynamics CRM Customer Portal. It enables your customers to manage information independently. They can generate tickets and get answers to their queries without reaching you. If they need help, they can chat with the support staff directly from the portal. They can access the knowledge base to learn about the product or other information.
Along with this, the portal provides customers with 24-7 self-support. It includes forums where customers can discuss and solve one another queries. Customers can also build a strong community in problem-solving.
The other features of the Dynamics 365 Customer Portal include polls, ratings, and comments. Businesses can use it to get feedback. With it, they can help customers with reliable solutions.
- Employee Self-Service Portal
This portal acts as an internal space for employees to manage their tasks, share knowledge, or interact with CRM. They can use it to give feedback, access answers to FAQs, or develop a community of their own.
If you want to equip your employees with a portal, you can go for HR for Dynamics. It is a self-service portal that simplifies employees’ tasks, HRs and managers especially.
Employees can use it to manage their activities with the HR department. For example, leave applications, activities, travel expenses, etc. Apart from this, they can update their personal information, including contact and account details.
Managers can get their team’s details right on the screen. They can know about their leaves, salary, deadlines, tasks, attendance, and everything else.
- Community Portal
These kinds of portals are like a virtual community. Everyone can gather, discuss, and share their opinions here. The highlights of this portal are blogs and articles, discussion invites, polls, ratings, and a space for comments.
This type of portal is best for brand building. It encourages users to promote organizations by being unofficial ambassadors and marketers.
- Partner Portal
A partner portal helps you provide your partners a space to access various business components. These components can be invoices, orders, payment history, or something else. They can get insights into lead generation, deals tracking and can use it to provide proper feedback. They can also update the details and access their contract details.
Partners can use a multi-partner collaboration feature to work with a number of partners. They can get all the sales information at one time.
You can also use partner lifecycle management for recruitment.
Overall, it would maximize deal protection and give vendors visibility in the customer pipeline.
- Field Service and Project Service Automation Portal
A field service portal gives detailed information about the assets, invoices, work orders, and agreements. It is available with Field Service, Project Service Automation, or an Enterprise plan.
Project Service Automation Portal provides partner project information such as bookable resources, quotes, and invoices.
Summing Up
These are the important types of Dynamics 365 portals. No matter what your industry is, you can always benefit from a portal. But the glitch is that you first need to identify your business requirements. You need to decide whether you want a Dynamics CRM customer portal or a Partner Portal. Then the issues you want it to tackle. Like, if you want to build a brand, a community portal would be best, and so on.
If you’re still unsure, talk to an experienced portal development company. They can help you solve that dilemma.